The Ultimate Guide to Vintage Cake: How to Make Timeless Treats
There’s something undeniably enchanting about vintage cakes. These delightful desserts evoke memories of family gatherings, celebrations, and the comforting embrace of home-cooked goodness. Whether it’s the rich flavors, intricate designs, or the nostalgia they inspire, vintage cakes have a special place in our hearts and on our tables. In this comprehensive guide, we will explore everything you need to know about vintage cakes—from their history and key aspects to step-by-step instructions for making your own. Get ready to embark on a sweet journey as we delve into the world of vintage baking!
Key Aspects of Vintage Cake

Vintage cakes are not just desserts; they are a celebration of tradition and heritage. Here are some key aspects that define what makes a cake “vintage”:
1. Historical Significance
Vintage cakes often have roots that trace back to earlier centuries, reflecting the culinary practices and tastes of different eras. Recipes passed down through generations carry stories of family traditions and cultural significance. For example, many vintage cakes were created during the Victorian era, where baking became a popular domestic art. Cakes were often elaborately decorated and served at special occasions, showcasing the skills of the baker and the wealth of the family.
2. Classic Flavors
These cakes typically feature classic flavors such as vanilla, chocolate, lemon, and spices. The simplicity of these flavors allows the quality of the ingredients to shine through, creating a wholesome and nostalgic taste. Vintage cakes often use ingredients that were readily available in the past, such as seasonal fruits, nuts, and spices, which not only enhance flavor but also reflect the culinary practices of the time.
3. Decorative Techniques
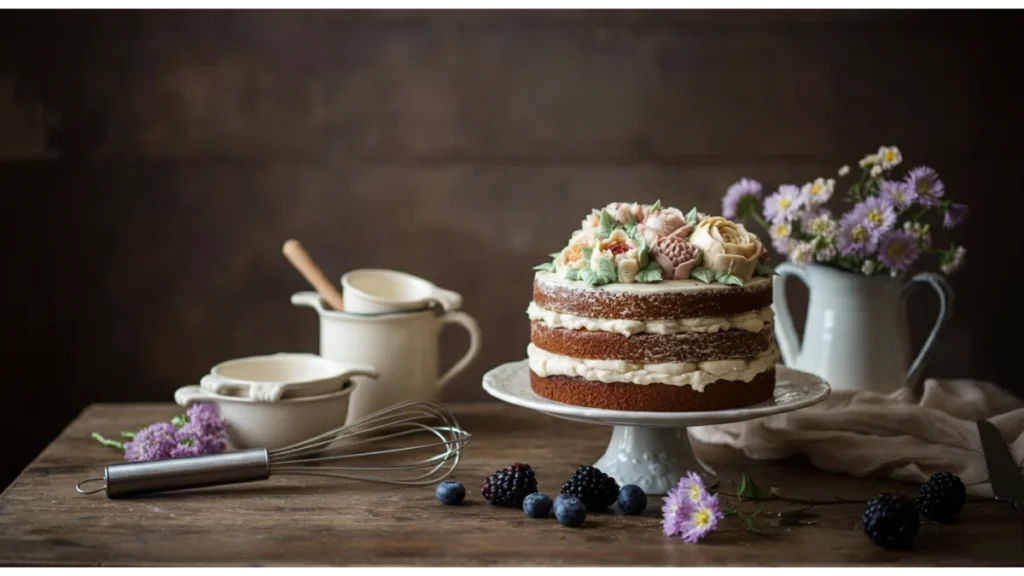
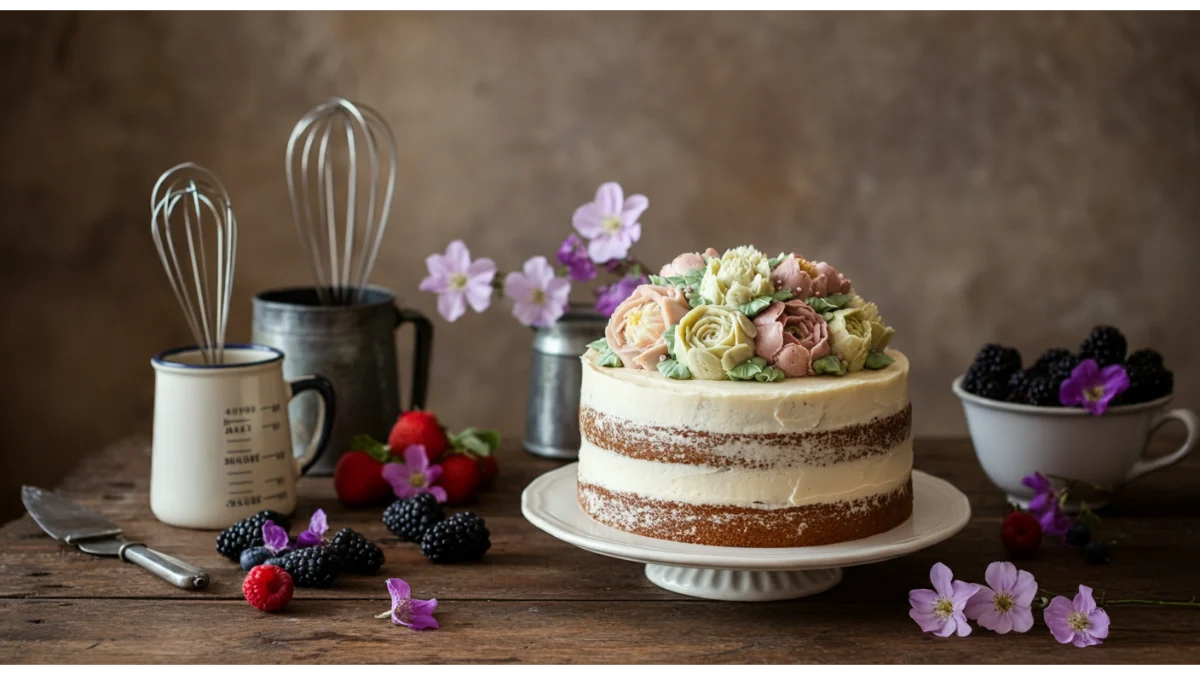
Vintage cakes are known for their intricate decorations, often featuring buttercream piping, fondant embellishments, and edible flowers. These techniques require skill and patience, making the final product a true work of art. For instance, the use of royal icing to create delicate lace patterns or the art of piping flowers has its roots in traditional baking methods. These decorative elements not only enhance the visual appeal but also add a layer of nostalgia, as they remind us of the cakes our grandmothers or mothers used to make.
4. Nostalgia and Comfort
Many people associate vintage cakes with fond memories of childhood and family gatherings. The comfort they provide transcends generations, making them a beloved choice for celebrations and special occasions. A vintage cake can transport you back to a time when life was simpler, filled with the warmth of family and friends. The act of baking and sharing these cakes can create lasting bonds and memories.
5. Culinary Trends
The resurgence of interest in vintage baking reflects a broader trend towards homemade and artisanal foods. People are increasingly seeking out traditional recipes that connect them to their roots and offer a sense of authenticity. This trend is evident in the growing popularity of baking classes that focus on traditional techniques and recipes, as well as in the rise of artisanal bakeries that specialize in vintage-inspired cakes.
Supporting Data
According to a survey conducted by the American Bakers Association, 60% of respondents expressed a preference for homemade cakes over store-bought varieties, highlighting the enduring appeal of traditional baking. This preference is driven by a desire for quality, flavor, and the emotional connection that homemade cakes provide.
Ingredients You’ll Need for Vintage Cake

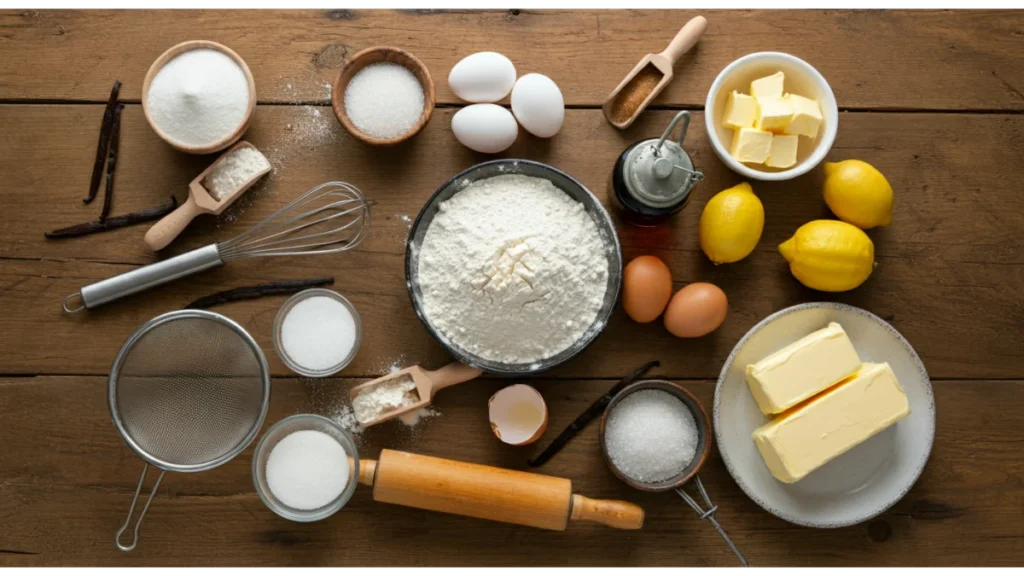
Creating a vintage cake requires simple yet high-quality ingredients. Below is a list of essential components you’ll need:
Basic Ingredients:
- Flour: All-purpose flour or cake flour for a lighter texture.
- Sugar: Granulated sugar for sweetness and structure.
- Butter: Unsalted butter for rich flavor and moisture.
- Eggs: Large eggs for binding and leavening.
- Milk: Whole milk or buttermilk for added richness.
- Baking Powder: For leavening and lightness.
- Vanilla Extract: Pure vanilla extract for flavor enhancement.
Optional Ingredients:
- Cocoa Powder: For chocolate variations.
- Spices: Cinnamon, nutmeg, or ginger for warmth and depth.
- Fruit: Fresh or dried fruits for added flavor and texture.
- Nuts: Chopped nuts for crunch and flavor.
Quality Matters
When it comes to baking vintage cakes, the quality of your ingredients can make a significant difference in the final product. Choose organic or locally sourced ingredients whenever possible. Fresh eggs, high-quality butter, and pure vanilla extract will elevate your cake to new heights.
Step-by-Step Instructions to Make Vintage Cake
Follow these simple steps to create your very own vintage cake. This recipe serves as a basic foundation that you can customize with your favorite flavors and decorations.
Step 1: Preheat the Oven
Preheat your oven to 350°F (175°C). Grease and flour two 9-inch round cake pans. This will ensure that your cakes release easily after baking.
Step 2: Mix the Dry Ingredients
In a medium bowl, whisk together 2 cups of all-purpose flour, 1 ½ cups of granulated sugar, 1 tablespoon of baking powder, and a pinch of salt. Mixing the dry ingredients separately helps to ensure an even distribution of the leavening agent.
Step 3: Cream the Butter and Sugar
In a large mixing bowl, beat 1 cup (2 sticks) of softened unsalted butter until creamy. Gradually add the dry mixture while mixing. This will create a crumbly texture. Creaming the butter and sugar together incorporates air into the mixture, which helps to create a light and fluffy cake.
Step 4: Add Eggs and Milk
Add 4 large eggs, one at a time, mixing well after each addition. Then, pour in 1 cup of whole milk and 1 teaspoon of pure vanilla extract. Mix until smooth and well combined. The eggs provide moisture and structure, while the milk adds richness to the batter.
Step 5: Pour and Bake
Divide the batter evenly between the prepared cake pans. Bake in the preheated oven for 25-30 minutes or until a toothpick inserted in the center comes out clean. It’s essential to check the cakes a few minutes before the suggested baking time to avoid overbaking.
Step 6: Cool and Frost
After baking, let the cakes rest in the pans for 10 minutes before moving them to wire racks to cool completely. Frost with your favorite buttercream or cream cheese frosting. A classic buttercream frosting made with butter, powdered sugar, and vanilla pairs beautifully with vintage cakes.
Practical Tips
- Avoid Overmixing: For a moist cake, avoid overmixing the batter once you add the wet ingredients. Overmixing can lead to a dense texture.
- Use Room Temperature Ingredients: Let the eggs and butter come to room temperature for better incorporation and a smoother batter.
- Experiment with Flavors: Feel free to experiment with different flavors and fillings to create your signature vintage cake. Consider adding lemon zest for a refreshing twist or almond extract for a nutty flavor.
Nutritional Value
Here’s a table outlining the nutritional benefits of key ingredients used in vintage cake:
| Ingredient | Nutritional Benefit |
|---|---|
| Flour | Provides carbohydrates for energy. |
| Sugar | Quick source of energy; enhances flavor. |
| Butter | Source of healthy fats and vitamins A, D, E, K. |
| Eggs | High in protein; contains essential amino acids. |
| Milk | Source of calcium and vitamin D. |
| Vanilla Extract | Antioxidant properties; adds flavor without calories. |
Understanding Nutritional Balance
While vintage cakes are often considered indulgent treats, they can be enjoyed in moderation as part of a balanced diet. Incorporating whole ingredients and being mindful of portion sizes can help you enjoy these delicious desserts without compromising your health.
Benefits of Vintage Cake

Vintage cakes offer more than just delicious flavors; they provide several benefits:
1. Emotional Connection
Baking vintage cakes can evoke cherished memories of family gatherings and celebrations. The act of baking itself can be therapeutic, allowing you to unwind and connect with your roots. The aroma of a freshly baked cake can transport you back to your childhood, reminding you of special moments spent in the kitchen with loved ones.
2. Creativity and Expression
Creating a vintage cake is an opportunity to express your creativity. From choosing flavors to designing decorations, each cake becomes a personal masterpiece that reflects your style. You can experiment with various decorating techniques, such as fondant, edible flowers, or intricate piping, to make your vintage cake truly unique.
3. Healthier Alternatives
By using high-quality ingredients and controlling the amount of sugar, you can create a vintage cake that is healthier than many store-bought options. You can also incorporate natural sweeteners or substitute ingredients to suit dietary needs. For example, using whole grain flour instead of all-purpose flour adds fiber and nutrients to your cake.
Real-Life Example
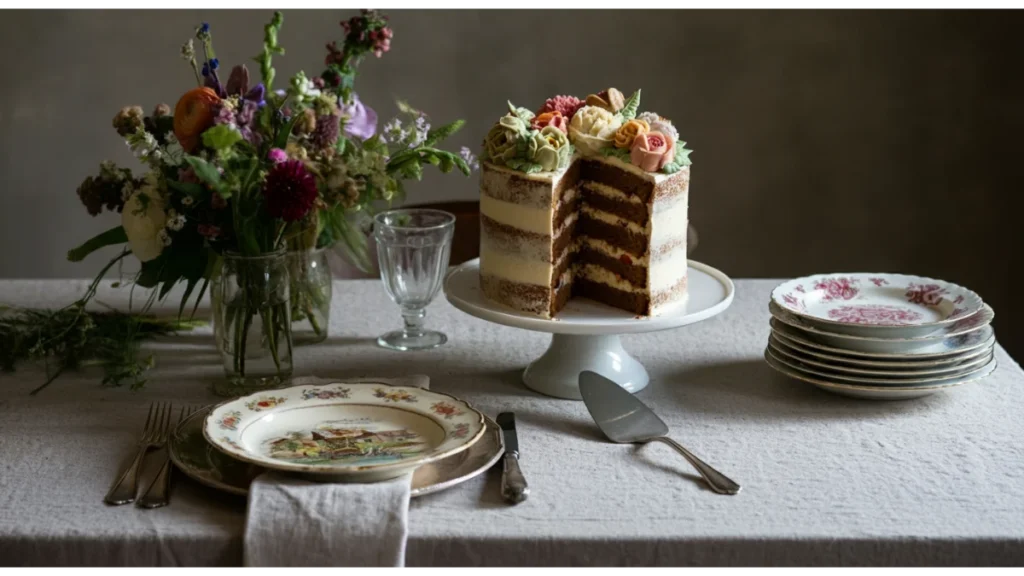
Imagine a family reunion where a grandmother brings out her famous vintage cake. The aroma fills the room, and everyone gathers around to share stories and laughter, creating lasting memories that will be cherished for years to come. Vintage cakes have a way of bringing people together, fostering connections and creating a sense of belonging.
Overcoming Challenges
Baking can sometimes be daunting, especially for beginners. Here are some helpful suggestions to assist you in overcoming common challenges:
1. Preventing Dry Cake
To avoid a dry cake, ensure that you measure your flour accurately (spoon it into the measuring cup instead of scooping). Additionally, do not overbake; check for doneness a few minutes before the suggested baking time. If your cake does turn out dry, consider using a simple syrup (made from equal parts sugar and water) to moisten the layers before frosting.
2. Achieving Even Layers
To achieve even cake layers, consider using a kitchen scale to portion the batter for each pan. Alternatively, you can use a leveling tool to ensure equal heights. If your cakes do dome while baking, you can trim the tops with a serrated knife to create a flat surface for stacking.
3. Frosting Issues
If your frosting is too runny, add more powdered sugar until you reach the desired consistency. If it’s too thick, incorporate a splash of milk or cream to achieve the desired consistency. For a smoother finish, consider chilling your frosted cake for about 30 minutes before serving, as this will help the frosting set.
Future Trends in Vintage Baking
As the culinary world evolves, so do the trends surrounding vintage baking. Here are some insights into the future of vintage cakes:
1. Sustainable Baking
With an increasing focus on sustainability, bakers are exploring eco-friendly ingredients and practices. This includes sourcing local produce, using organic ingredients, and minimizing waste. Many bakers are also experimenting with plant-based alternatives, such as aquafaba (the liquid from canned chickpeas) as an egg substitute, to create delicious vegan vintage cakes.
2. Health-Conscious Options
As more people become health-conscious, there’s a growing demand for vintage cake recipes that cater to dietary restrictions, such as gluten-free, vegan, or low-sugar options. This shift has led to the development of innovative recipes that maintain the essence of vintage cakes while accommodating different lifestyles.
3. Interactive Baking Experiences
Baking classes and workshops are gaining popularity as people seek hands-on experiences. These classes often focus on traditional techniques, allowing participants to learn the art of vintage cake-making. Many bakeries are also offering online classes, making it easier for anyone to learn the craft from the comfort of their home.
Tips and Tricks Section
Here are some helpful tips to enhance your vintage cake experience:
1. Use Quality Ingredients
Invest in high-quality butter, vanilla extract, and chocolate for the best flavor. Fresh ingredients make a significant difference in the final product. Make sure to select flowers that are safe for eating and free of pesticides.
2. Experiment with Flavors
Don’t be afraid to experiment! Try adding citrus zest, spices, or even a splash of liqueur to elevate your cake’s flavor profile. You can also incorporate different fillings, such as fruit preserves or chocolate ganache, between the layers for added depth.
3. Decorate with Fresh Flowers
For a stunning presentation, use fresh edible flowers to decorate your vintage cake. They add a touch of elegance and color. Make sure to select flowers that are safe for eating and free of pesticides.
4. Practice Patience
Baking can be a delicate process, so take your time and don’t rush. Allow your cakes to cool completely before frosting to prevent melting and sliding. Patience will pay off with a beautifully finished cake.
Variations and Adaptations
Vintage cakes can be adapted to suit various dietary needs. Here are some suggestions:
1. Gluten-Free Vintage Cake
Substitute all-purpose flour with a gluten-free blend. Ensure that your baking powder is also gluten-free. You can also use almond flour or coconut flour for a unique flavor and texture.
2. Vegan Vintage Cake
Replace eggs with flaxseed meal (1 tablespoon mixed with 2.5 tablespoons of water = 1 egg) and use plant-based butter and milk alternatives. There are many delicious vegan cake recipes that maintain the classic flavors of vintage cakes.
3. Low-Sugar Vintage Cake
Substitute natural sweeteners such as honey or maple syrup for granulated sugar. Adjust the liquid ingredients accordingly. You can also experiment with sugar substitutes like stevia or erythritol for a lower-calorie option.
4. Flavor Variations
Try incorporating different flavors into your vintage cake. For example, you can create a chocolate vintage cake by adding cocoa powder to the batter or a lemon vintage cake by adding lemon juice and zest. The possibilities are endless!
FAQs Section
1. Can I substitute ingredients?
Yes! Many ingredients can be substituted based on dietary needs or preferences. For example, you can replace milk with almond milk or use coconut oil instead of butter. Just keep in mind that substitutions may affect the final texture and flavor.
2. How do I store leftover cake?
Keep leftover cake in an airtight container at room temperature for no more than three days. For longer storage, consider refrigerating or freezing the cake. If freezing, wrap the cake tightly in plastic wrap and foil to prevent freezer burn.
3. Can I prepare the cake in advance?
Can I prepare the cake in advance? Absolutely! You can bake the cake layers a day in advance and store them in the refrigerator. Frost just before serving for the best results. Alternatively, you can freeze the cake layers until you’re ready to frost and serve.
4. How do I achieve a smooth frosting finish?
To achieve a smooth frosting finish, use a bench scraper or offset spatula to smooth the frosting around the sides and top of the cake. You can also dip your spatula in warm water and wipe it dry before smoothing to help melt the frosting slightly for a smoother finish.
Conclusion
Vintage cakes are more than just desserts; they are a celebration of tradition, creativity, and love. By following this guide, you can create your own timeless treats that evoke nostalgia and delight your friends and family. Remember to experiment, have fun, and share your creations with others. We invite you to comment below with your vintage cake experiences, share this article with fellow baking enthusiasts, and subscribe for more delightful recipes and tips!

